Optical/Video Measuring System Calibration

IMG_2495Expect the Unexpected

Picture this: The last time you cleaned your safety glasses was a over a year ago or longer and you’re trying to get the reading off your micrometer that hasn’t been maintained at all, basically a fancy c-clamp… Good luck… Might as well just close your eyes and say its good. With those safety glasses you probably couldn’t even read this page.

So when choosing a calibration provider for your Optical Comparators, Microscopes, and Video Measuring Systems, there are some things to consider. Cost is usually the first thing on the list. When counting the cost of scrap, rework, and lost man hours, it becomes clear that a well maintained machine reduces overall costs. ICS understands this. We also understand what it takes to get accuracy, clarity, and long term performance out of your vision equipment.

Expect the unexpected when ICS calibrates your Optical Comparator, Microscope, and Video Measuring Machine.

We start with a thorough cleaning:

  • Clean and/or degrease the outside of the machine using a mild detergent.
  • Remove burrs and high spots from the table surface and ways.
  • Clean & lubricate accessible lead-screws and bearing ways.
  • Inspect and clean all optics including lenses, mirrors, stage glass, and monitor/chart glass using a coating safe lens cleaner and lint free lens tissues.
  • Not just the ones on the outside of the machine!
  • Align and collimate the light source parallel to the optics.

From there, we finish with a world class calibration that includes before and after adjustment data…

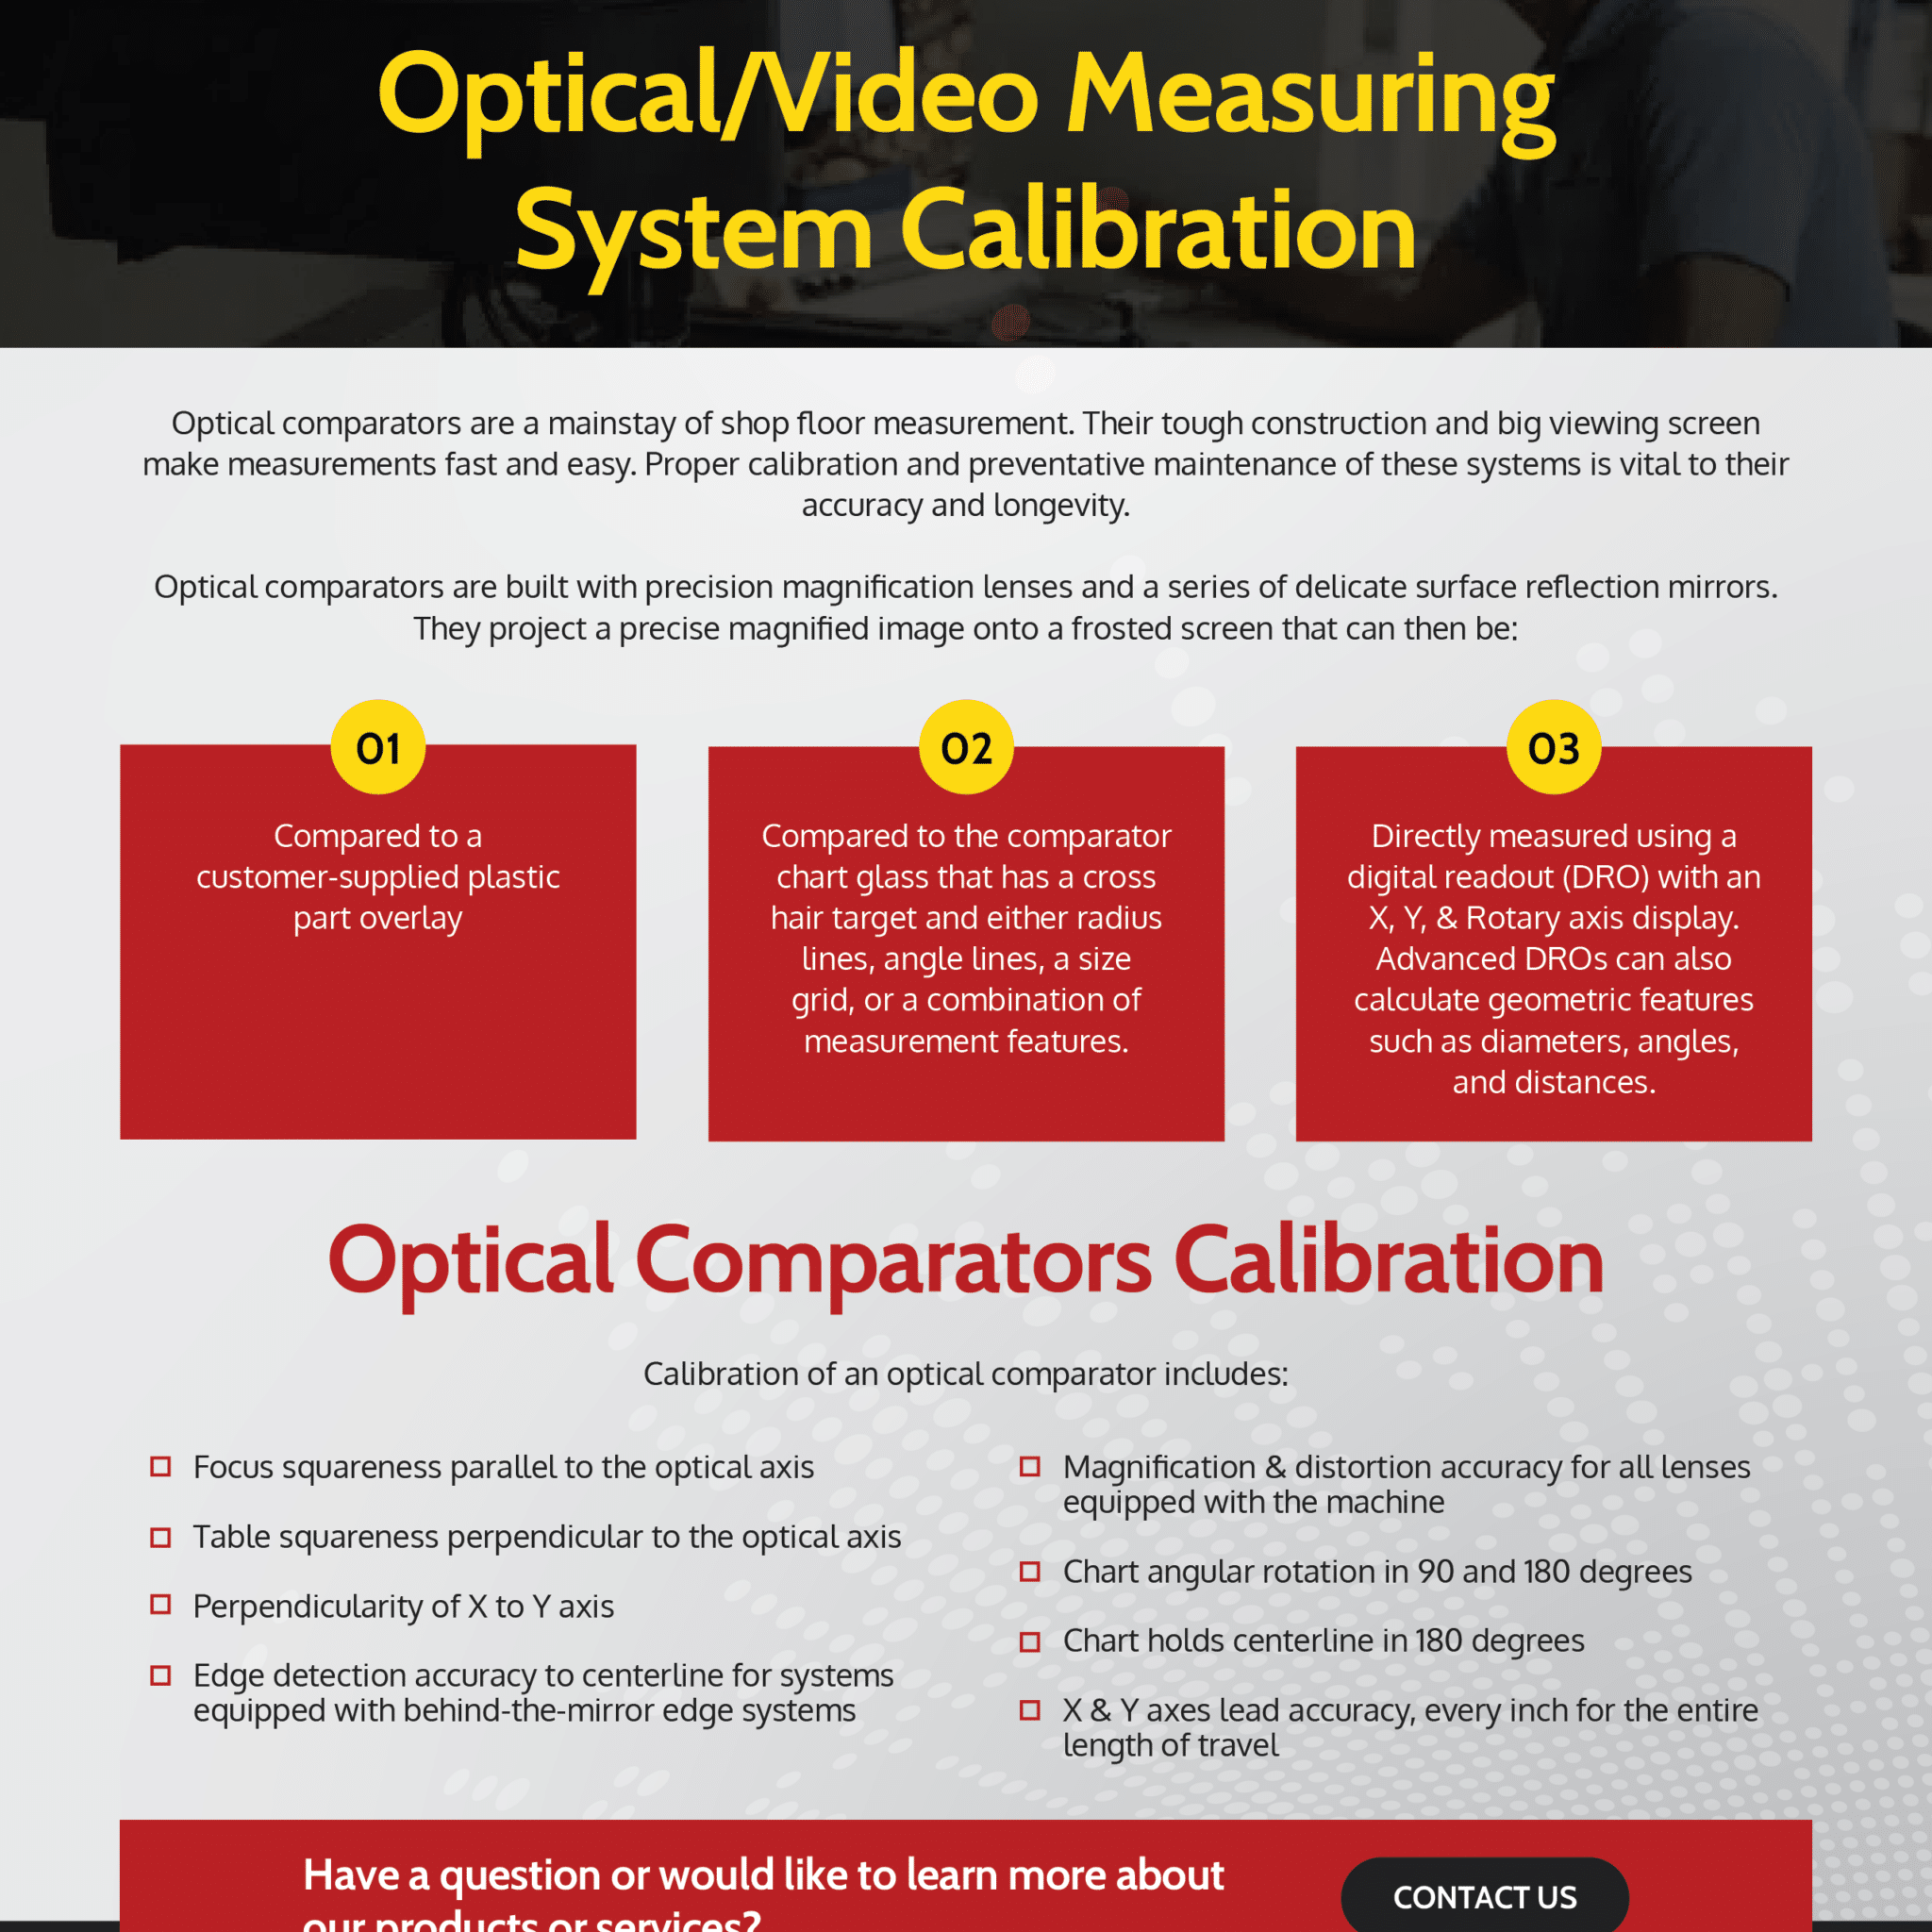
Comparator calibration includes:

  • Focus squareness parallel to optical axis
  • Table squareness perpendicular to optical axis
  • Perpendicularity of X to Y axis
  • Edge detection accuracy to centerline for systems equipped with behind the mirror edge systems
  • Magnification & distortion accuracy for all lenses equipped with the machine
  • Chart angular rotation in 90 and 180 degrees
  • Chart holds centerline in 180 degrees
  • X & Y axes lead accuracy, every inch for the entire length of travel

Video Measuring Machine calibration includes:

  • Table flatness to optical axis
  • Focus squareness to optical axis
  • Par-focalization of zoom lens for autofocus equipped machines
  • Par-centrality of zoom lens
  • Edge detection accuracy
  • X / Y axis stage squareness
  • Z axis linear calibration
  • X / Y axis linear or nonlinear grid data up to 24 intersections

Measuring Microscope calibration includes:

  • Table flatness to optical axis
  • Focus squareness to optical axis
  • X / Y axis stage squareness
  • Reticle scale magnification accuracy
  • Crosshair rotation & centerline
  • X & Y axis lead accuracy, every inch for the entire length of travel

As always with the professionals at ICS, we perform adjustments where available and as needed. When an adjustment will not do, we have the ability to repair even some of the oldest machines. Well go the extra mile with you.